Account Manager
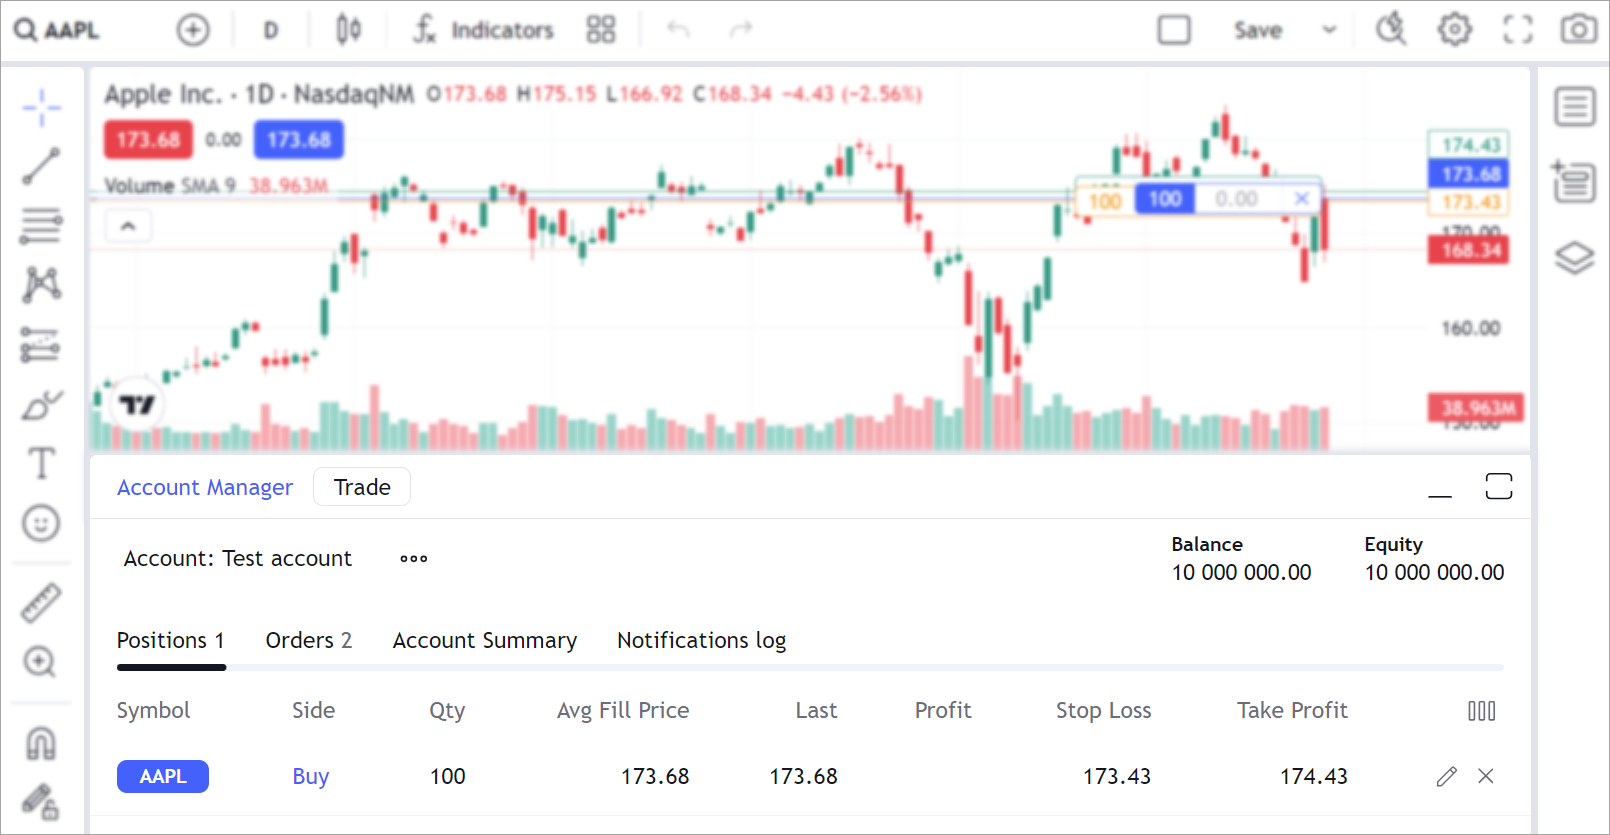
The Account Manager is an interactive widget that displays trading information, such as orders, positions, an account balance, and more.

This article provides an overview of the Account Manager. For a hands-on understanding, refer to the Broker API implementation 🔐 (access is restricted) on GitHub. This example is used on the Trading Platform demo page where you can test trading features, including the Account Manager.
Create Account Manager
To enable the Account Manager, implement the accountManagerInfo method within the Broker API.
This method should return an AccountManagerInfo object
containing the information that will be displayed in the Account Manager.
The Account Manager consists of the Account Summary row and different pages. The Account Manager includes the default Orders and Positions pages, but you can also add History, Notifications log, or your custom pages.
accountManagerInfo() {
    return {
        accountTitle: "Sample title",  // Account Manager title
        summary: [],                   // Custom fields that are displayed in the Account Summary row
        orderColumns: [],              // Columns that build the Orders page
        positionColumns: [],           // Columns that build the Positions page
        pages: [],                     // Columns that build your custom pages
    };
}
User accounts
The Account Manager is designed to display the trading data of a particular user account. Users can have multiple accounts and switch between them using the drop-down menu in the Account Manager. Refer to Multiple accounts for more information.
Account Summary row
The Account Summary row is a line that is always displayed at the top-right corner of the Account Manager. Usually, it contains the most important information about the account's current state, such as balance and equity.

Use the summary property to build the Account Summary row.
Each AccountManagerSummaryField object passed within summary creates a separate field.
// Here, balanceValue = host.factory.createWatchedValue(value);
summary: [
    {
        text: "Balance",      // The summary field title
        wValue: balanceValue, // A WatchedValue object that is used to read the field state
        formatter: "fixed",   // The formatter name that formats the field
        isDefault: true,      // Displays the field by default
    },
]
Watched values
The values defined in the row use watched values.
This means that these values should be constantly updated,
so the users have up‑to‑date data about their account state.
To create a WatchedValue object, use the createWatchedValue method within the Trading Host.
To update the values, use the setValue method.
Pages
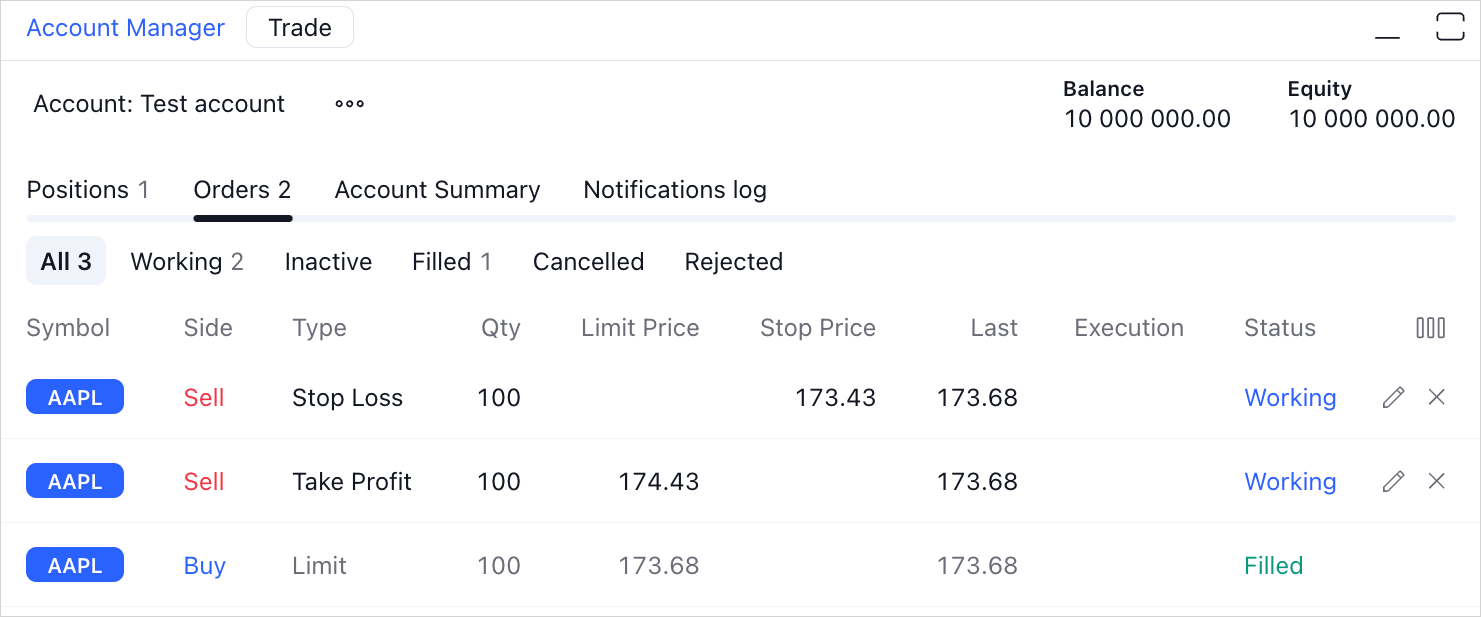
The Account Manager has the Orders, Positions, History, and Notifications log pages. You can also create your custom pages.
Each page represents a table where you define columns and the data to be displayed.
Orders and Positions
When implementing the Broker API, you should implement the orders and positions methods.
The library calls these methods to retrieve data objects about the user's orders and positions.
This data is then displayed on the Orders and Positions pages of the Account Manager.
To specify the data you want to display on these pages,
define the orderColumns and positionColumns properties in the AccountManagerInfo object.
These properties represent arrays of objects where each object is a separate column.
- Orders page
- Positions page


History
The History page shows details of all orders with their final statuses. To support order history, follow the steps below:
- The History tab in the Account Manager is enabled by default through the
supportOrdersHistoryflag. You only need to change this flag if you want to disable the tab. For more information, see the Trading features configuration article. - Implement the
ordersHistorymethod to provide order history. The method should return only orders with final statuses such as rejected, filled, or cancelled. - Add the
historyColumnsproperty to theAccountManagerInfoobject to define and display data columns. Optionally, configure thehistoryColumnsSortingproperty to control sorting behavior.
Notifications log
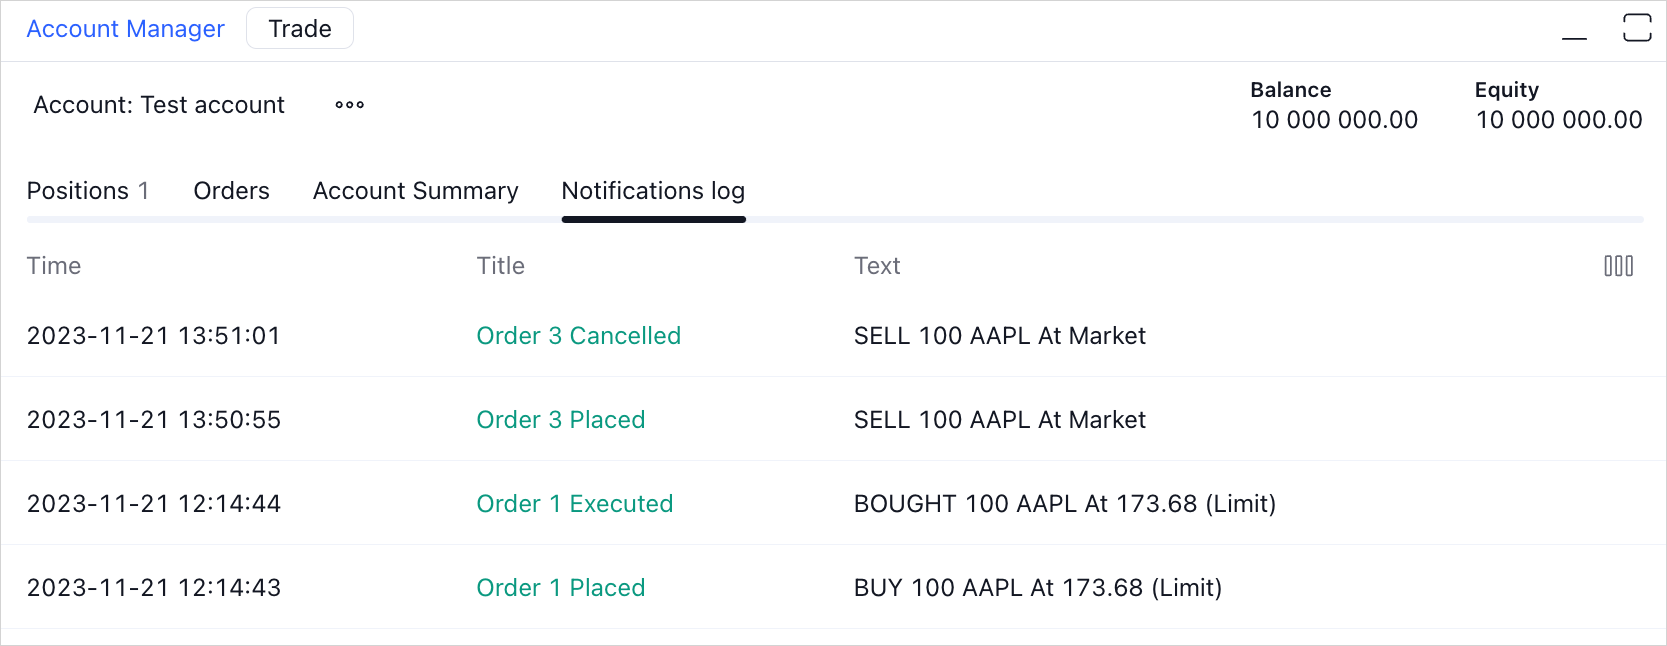
The Notifications log page logs trading actions like placing or canceling orders.
This page is visible by default, however, you can hide it via the showNotificationsLog flag.
Refer to the Trading features configuration section for more information about configuration flags.

You can also create notifications via the showNotification method.
These notifications appear as toast messages at the bottom-left corner and are also recorded in the Notifications log page.
If you want to display custom fields' information from orders or positions in notifications,
use the customNotificationFields property within the broker_config object of the Widget Constructor.
Custom pages
Custom pages can be created via the pages property of AccountManagerInfo.
Additionally, you have the flexibility to include multiple tables within your custom pages by specifying them in the tables property.
See How to create custom page in Account Manager.
Columns
Each Account Manager page is a table, where each column is an AccountManagerColumnBase object.
The order of column display aligns with the sequence of objects added to the columns array.
{
    id: "id",           // Unique ID
    label: "Order id",  // Column title
    dataFields: ["id"], // Data that is displayed in the column
},
AccountManagerColumnBase has three required properties:
id— a unique identifier of a column.label— the title that is displayed in the column's header.dataFields— an array of strings that match the property names in the order/position data object.dataFieldsis used to generate the values displayed in a column. The displayed value in the column updates only when the corresponding values in the data object change. For example:- For a column with
dataFieldsset as["avgPrice", "qty"], the displayed value updates only when theavgPriceorqtyvalues in the data object change. - For a column with an empty
dataFieldsarray, the displayed value updates if any values in the data object change.
- For a column with
To manage how the values are displayed in the columns, use the formatter property.
Configure behavior
Disable Account Manager
The accountManagerInfo method is required for implementation.
However, if you do not want to display the Account Manager,
you can use the sample code from the Broker API implementation and disable the trading_account_manager featureset.
Hide Account Manager on startup
By default, the Account Manager is always opened.
If you want to keep it hidden on startup, disable the open_account_manager featureset.
The getAccountManagerVisibilityMode and setAccountManagerVisibilityMode methods in the Trading Host can be used to either get the visibility state of the Account Manager or change it.