Indicator overrides
The Overrides API includes properties that can be used to customize indicators' parameters such as colors, line width, plot type, and more.
This article contains the following information:
- How to customize indicators.
- How to customize new series.
- How to get the list of overrides for built-in indicators.
- How to get the list of overrides for custom indicators based on overrides syntax.
Customize indicators
This section describes ways to customize indicators.
Refer to List of overrides to see properties for built-in indicators.
Specify default properties
You should use the studies_overrides property of the Widget Constructor to specify the indicator's default properties.
For example, the following code sample specifies that all Bollinger Bands indicators should be green with the upper line width set to 7.
var widget = window.tvWidget = new TradingView.widget({
    // ...
    studies_overrides: {
        "bollinger bands.median.color": "#33FF88",
        "bollinger bands.upper.linewidth": 7
    }
});
Change default properties on the fly
To change the indicator's default properties after the chart is initialized, use the applyStudiesOverrides method.
All indicators created after the applyStudiesOverrides call have new properties. For example, the following code sample specifies that all newly created Moving Average indicators should have the length set to 5.
widget.applyStudiesOverrides({
    "moving average.length": 5
})
Change the existing indicator
If you want to change an indicator that is already on the chart, you should use the applyOverrides method in IStudyApi. For example, the code sample below specifies new properties for the existing Volume indicator.
const volumeStudyId = widget.activeChart().getAllStudies().find(x => x.name === "Volume").id;
const volume = widget.activeChart().getStudyById(volumeStudyId);
volume.applyOverrides({ "volume.color.0": "pink", "volume.color.1": "purple" });
Customize a single indicator
If you need to change a style of only one indicator, you can create the indicator using the createStudy method and pass overrides properties as a parameter. These properties are applied above the default ones that are specified in studies_overrides.
For example, the code sample below specifies that Moving Average indicators should be blue and creates one Moving Average that is purple.
var widget = window.tvWidget = new TradingView.widget({
    // ...
    studies_overrides: {
        "moving average.plot.color": "rgb(0, 255, 255)"
    }
});

widget.onChartReady(() => {
    widget.activeChart().createStudy("Moving Average", false, false, { length: 5 },
        {
            "Plot.color": "rgb(150, 95, 196)"
        },
    )
});
Any property from studies_overrides can be changed using createStudy.
However, the properties listed below can be specified in createStudy but might not work in studies_overrides depending on the indicator and property.
showPriceLine: booleanshowLabelsOnPriceScale: booleanshowLegendValues: booleantransparency: numberprecision: string
For example, you can specify the default transparency of the Volume indicator via studies_overrides, but you can use only createStudy to disable labels on the price scale.
var widget = window.tvWidget = new TradingView.widget({
    // ...
    studies_overrides: {
        "volume.volume.transparency": 99
    }
});

widget.onChartReady(() => {
    widget.chart().createStudy("Volume", false, false, undefined, {
        "showLabelsOnPriceScale": false
    }
});
Customize new series
Users can add new series to the chart in the UI to compare symbols. To add a new series programmatically, you should use the Overlay or Compare indicator. For more information, refer to the Indicators article.
This section describes how to customize the Overlay and Compare indicators.
Overlay
You should use studies_overrides to specify default properties for all Overlay indicators.
studies_overrides: {
    // ...
    "overlay.style": 1,  // Candle
    "overlay.candleStyle.upColor": "purple"
}
You can also create a singe Overlay indicator with specific parameters as follows:
widget.activeChart().createStudy("Overlay", true, false, { symbol: "IBM" }, {
        "style": 2  // Line
        "lineStyle.color": "purple",
    }
);
Refer to StudyOverrides or OverlayIndicatorOverrides to see a list of Overlay overrides.
Compare
You can customize the Compare indicator as follows:
studies_overrides: {
    // ...
    "compare.plot.color": "#000000", // Color of the line
    "compare.source": "high",        // Price source
    "compare.minTick": "default"
}
You can also create a singe Compare indicator with specific parameters as follows:
widget.activeChart().createStudy("Compare", true, false, { symbol: "IBM" }, {
        "plot.color": "yellow"
    }
);
Refer to StudyOverrides or CompareIndicatorOverrides to see a list of Compare overrides.
List of overrides
Each indicator has a set of overrides that you can use to change its style. The overrides syntax may or may not include the indicator's name depending on the method used. Refer to the pages below to see lists of overrides associated with the certain methods.
- Use the properties listed in
StudyOverridesto customize indicators viastudies_overridesandapplyStudiesOverrides. - Use the properties listed in
SingleIndicatorOverridesto customize indicators viacreateStudyandapplyOverrides.
var widget = window.tvWidget = new TradingView.widget({
    studies_overrides: {
        // Includes the indicator's name
        "volume.volume.transparency": 99
    }
});

widget.onChartReady(() => {
    widget.chart().createStudy("Volume", false, false, undefined, {
        // Does not include the indicator's name
        "volume.transparency": 99
    })
});
Note that the pages above contain overrides for built-in indicators only. Refer to Overrides syntax for information on how to specify overrides for custom indicators.
Overrides syntax
The overrides syntax is the same for built-in and custom indicators. For your convenience, overrides names for built-in indicators are generated, and the links to these overrides are listed above. For custom indicators, you need to figure out the overrides names based on the rules described in this section.
Overview
Overrides consist of the following parts that should be separated by a dot:
-
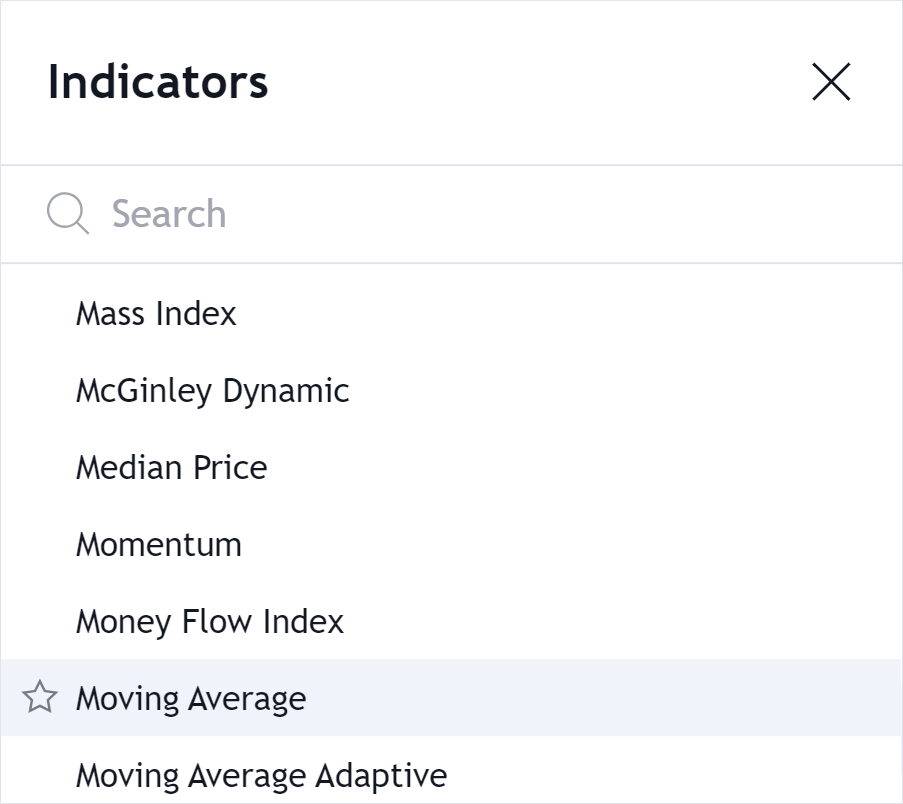
An indicator's name. The name should be the same as in the Indicators dialog in the UI. Note that this part should be omitted if you specify overrides using
createStudyandapplyOverrides.
-
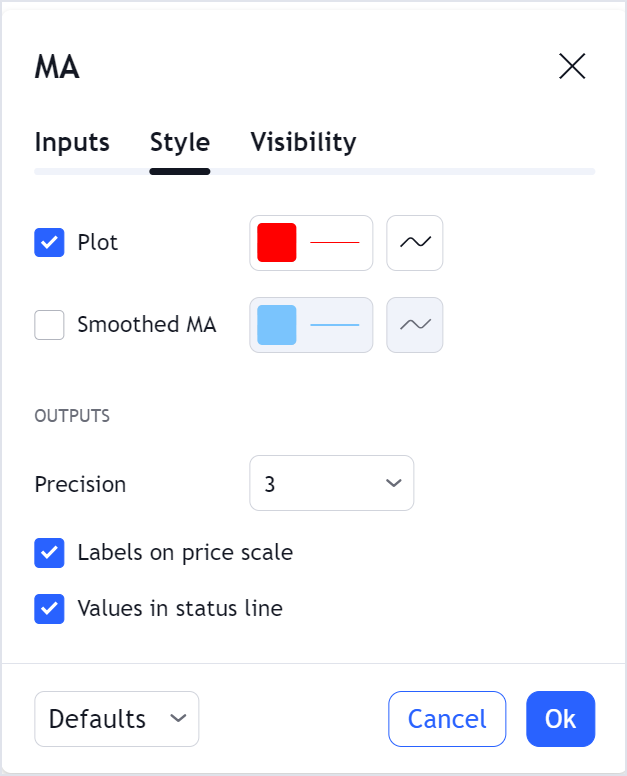
A path to the certain property. Property names are the same as in the Settings dialog in the UI (in English).

Both parts should be written in lower case, for example, moving average.precision.
Property path
A property path depends on a certain property and consists of lowercase identifiers separated by a dot. The properties and the corresponding path formats are described below.
To see all properties of the certain indicator, you can call the getStudyStyles method.
widget.getStudyStyles("Moving Average");
The code sample below shows the result of this call. Note that getStudyStyles does not return actual property names but the indicator's metadata. The values in metadata have names like plot_0, which are internal IDs for the plots within the indicator. However, you should take the plot's name used in the UI to refer to the plot properties.
In the example below, the correct path to the color property is plot.color not plot_0.color.
{
    "defaults": {
        "styles": {
            // Plot properties
            "plot_0": {
                "display": 15,
                "linestyle": 0,
                "linewidth": 1,
                "plottype": 0,
                "trackPrice": false,
                "transparency": 0,
                "color": "#2196F3"
            },
            "smoothedMA": {
                "display": 0,
                "linestyle": 0,
                "linewidth": 1,
                "plottype": 0,
                "trackPrice": false,
                "transparency": 0
            }
        },

    // ...

    "styles": {
        "plot_0": {
            "title": "Plot",  // Plot name in the UI
            "histogramBase": 0,
            "joinPoints": false
        },
        "smoothedMA": {
            "title": "Smoothed MA",
            "histogramBase": 0,
            "joinPoints": false
        }
    }
}
Input property
Format: indicator_name.input_name
- indicator_name: use the name as you see it in the Indicators dialog.
- input_name: use the name as you see it in the Settings dialog, for example,
show ma.
Examples: volume.volume ma.visible, bollinger bands.length
You can call the getStudyInputs method to see all input properties defined in the indicator's metadata.
widget.getStudyInputs("MACD");
Plot property
Plot is a line or area that represents the indicator's values on the chart.
Format: indicator_name.plot_name.property_name
- indicator_name: use the name as you see it in the Indicators dialog.
- plot_name: use the name as you see it in the Settings dialog, for example,
volumeorplot. - property_name: one of the following:
- linewidth
- visible: boolean
- plottype. Supported plot types are:
linehistogramcrossareacolumnscirclesline_with_breaksarea_with_breaksstep_linestep_line_with_breaks
Examples: volume.volume.linewidth, bollinger bands.median.linewidth
Plot color property
Format: indicator_name.plot_name.color<.color_index>
- indicator_name: use the name as you see it in the Indicators dialog.
- plot_name: use the name as you see it in the Settings dialog, for example,
volumeorplot. - color: a keyword.
- color_index (optional): color index (if any). It is just an ordinal number of a color for this plot.
For example, to replace the color that is green by default for Volume, one should use
color_index = 1.
Remark 1: color.0 is a synonym of color. Paths such as volume.volume.color.0 and volume.volume.color are treated the same.
Remark 2: The customization of area fill color and transparency is not supported currently.
Limitations:
- Only
#RRGGBBformat is supported for colors. Do not use a short format#RGB. - Transparency varies and the range is [0..100]. 100 means plot is fully opaque.
- Thickness is an integer.
Precision property
You can change the default precision of indicators using the indicator_name.precision format.
Example: "average true range.precision": 8
Ambiguous identifiers
When the library complains that there is an 'ambiguous identifier', it means that more than one property has that specific property name. This can be possible because there are a few different types (plots, bands, areas, inputs) for the properties and the name only needs to be unique amongst its own type. So there can be cases where the library can not determine which property to change based solely on the name. In these cases, you should use the 'colon type' syntax to specifically tell the library which type the property is within.
The type should be specified at the end of the ambiguous name (just before the period) and can be one of the following types:
:plot:band:area:input
Example
The MA Cross indicator has both inputs and plots named 'Short' and 'Long'.
The code sample below creates the MA Cross indicator with the following visual changes:
- Changes the inputs for Short and Long from 9 and 26 to 12 and 24, respectively.
- Changes the width of the Short line and its type from 'line' to 'histogram'.
- Hides the Long line from the chart.
- Changes the type of Crosses from 'Cross' to 'Line'.
widget.activeChart().createStudy(
    "MA Cross",  // Indicator's name
    false, // forceOverlay
    false, // lock
    false, // inputs
    // overrides
    {
        "short:input": 12, // Ambiguous; therefore, added :input
        "long:input": 24, // Ambiguous; therefore, added :input
        "short:plot.linewidth": 3, // Ambiguous; therefore, added :plot
        "short:plot.plottype": "histogram", // Ambiguous; therefore, added :plot
        "long:plot.display": 0, // Ambiguous; therefore, added :plot
        "Crosses.plottype": "line"
    }
);